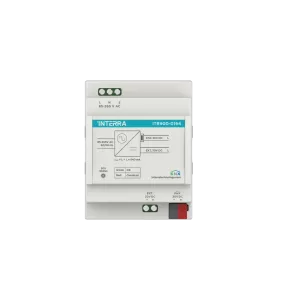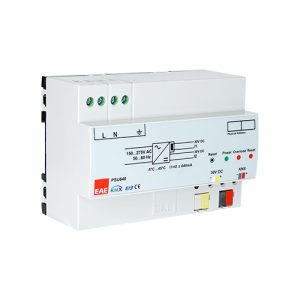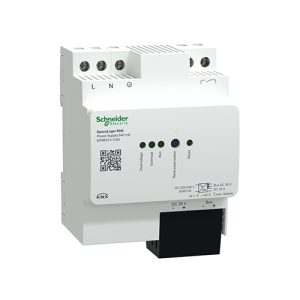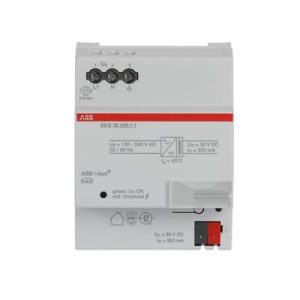













Have you ever seen KNX devices reset randomly after award — or watched a cabinet swap eat the last of your margin? The usual culprit is not “bad luck”; it is a power budget that was guessed between 320 mA and 640 mA instead of calculated per powered segment.
This guide gives you a reusable worksheet (and a downloadable spreadsheet) so you can defend the supply class before the BOM freezes.
Cite-ready definition: A KNX line current budget is the sum of manufacturer bus-current values for every device on one powered segment, plus deliberate spare capacity for late adds and diagnostics — calculated before you lock the power-supply SKU in the project BOM.
Undersized KNX power is a quiet margin killer: intermittent device resets, noisy diagnostics, and late cabinet swaps after award. Oversizing every line “to be safe” wastes money and panel space. Mid-size commercial jobs need a method you can defend in a tender meeting — not a guess between 320 mA and 640 mA.
This article is a copy-paste worksheet, not a brand pitch. Use it brand-agnostic first; then map the chosen supply class to genuine catalog options when you are ready to procure.
The Smartanix Line Current Budget (LCB) method
We use a simple named framework so teams can quote the same steps on every job:
- Segment — define which devices share one supply / one line coupler boundary.
- Sum — add datasheet bus current for every device on that segment.
- Spare — add an explicit spare percentage and write it in the BOM notes.
- Select — pick the smallest standard class (160 / 320 / 640 mA, or project-specific higher) that covers Sum + Spare with headroom.
- Specials — flag auxiliary DC, diagnostics ports, and temporary tools separately so they do not surprise you on site.
Copy-paste worksheet (fill one row per device)
Duplicate this table into your tender workbook or project notes — or download the ready spreadsheet below. Currents must come from manufacturer documentation for the exact order code — never from memory.
Download Excel worksheet (.xlsx)
— formulas for subtotals, spare, and design load included.
Download CSV (opens in Google Sheets / Excel)
| Segment / line ID | Device / function | Brand + order code | Qty | Bus current per device (mA) | Line subtotal (mA) | Notes (secure, aux, spare location) |
|---|---|---|---|---|---|---|
| L1 | e.g. presence sensor | |||||
| L1 | e.g. switch actuator | |||||
| L1 | e.g. room panel | |||||
| Segment sum (Σ) | ||||||
| Spare capacity (e.g. 20–30%) | Document the % | |||||
| Design load = Σ × (1 + spare) | Compare to supply class | |||||
Design load in three steps
- Per device: bus current (mA) × quantity = line subtotal for that row.
- Per segment: add every row subtotal → segment sum (Σ).
- With spare: design load = Σ × (1 + spare fraction). Example: Σ = 392 mA and spare = 25% → design load = 392 × 1.25 = 490 mA. Choose a supply class ≥ design load under your project rules (still leave headroom if commissioning tools share the same rail).
Spare capacity rules that survive purchasing
- Write the spare in the BOM — if it only lives in a chat thread, purchasing will “optimize” to a smaller supply.
- Budget late devices — fit-out changes, extra sensors, and replacement panels are normal on mid-size floors.
- Do not steal spare for permanent loads — spare is for uncertainty and temporary diagnostics, not for devices you already know about.
- Recalculate after brand-or-equivalent swaps — a “similar” actuator can change bus current enough to break a tight 320 mA plan.
Many integrator teams target roughly 20–30% spare on mid-size commercial lines. Treat that as a project rule you document, not a universal law — some secure-heavy or panel-dense lines need more.
Worked example: mid-size commercial floor (illustrative)
Assume one KNX line segment serving a typical office floor fit-out. Numbers below are illustrative placeholders to show the method — replace every current with datasheet values for your exact SKUs.
| Device group | Qty | Example bus current each (mA) | Subtotal (mA) |
|---|---|---|---|
| Presence / motion sensors | 12 | 8 | 96 |
| Switch / shutter actuators (electronics on bus) | 6 | 12 | 72 |
| Room panels / touch devices | 8 | 25 | 200 |
| Binary inputs / interfaces | 4 | 6 | 24 |
| Σ device load | 392 | ||
| Spare 25% | 98 | ||
| Design load | 490 |
A design load near 490 mA is an uncomfortable fit for a 320 mA class and a comfortable candidate for a 640 mA class on that segment — after you replace example currents with real datasheet values. If your real Σ is far lower, a 320 mA supply may be correct; the worksheet decides, not habit.
Selecting 160 / 320 / 640 mA classes
- 160 mA — short dedicated segments, small panels, limited device counts.
- 320 mA — common mid-density residential clusters or light commercial lines with disciplined device lists.
- 640 mA — denser commercial floors, richer panel sets, or when documented spare must stay comfortable.
If the project needs an auxiliary DC output from the supply, treat that as a hard requirement in the worksheet notes — not an optional accessory discovered after award. Confirm voltage, current, and behaviour in the datasheet for the exact order code.
Segment boundaries: do not budget the whole building as one line
Line couplers and topology splits change where power is supplied. Budget per powered segment. Mixing devices from two supplies into one Σ is a common tender mistake and a common site failure mode.
For pattern-level topology guidance, keep power budgeting and line design as related but separate decisions — power does not fix a bad coupler plan, and a clean coupler plan does not forgive an undersized supply.
From worksheet to procurement
Once design load and class are locked:
- Compare genuine 160 / 320 / 640 mA options in the System Components catalog.
- Pin the chosen supply into the same project BOM as actuators and panels so purchasing cannot detach it.
- If the tender is still fluid, send the filled worksheet for a second pair of eyes before you freeze partner pricing.
Related reading on Smartanix: the narrative companion guide KNX power supply sizing for mid-size commercial jobs — use that for context, and this worksheet as the artifact you reuse on every quote.
Checklist before you lock the supply SKU
- Every row uses datasheet current for the final order code.
- Segment boundaries match the topology drawings.
- Spare % is written in BOM notes.
- Auxiliary / diagnostic loads are flagged.
- Brand-or-equivalent swaps trigger a recalculation.
- Supply class ≥ design load with agreed headroom.
Frequently asked questions
Can I use two KNX power supplies on one segment without a coupler?
No — treat one powered segment as one supply boundary. Putting two supplies on the same bus without a proper line/area split fights the topology, complicates fault finding, and is not a substitute for upsizing or splitting the line. If you need more capacity, raise the supply class, split the segment with a coupler, or redesign device density — then recalculate the budget per segment.
What default KNX bus current should I use if the datasheet is missing?
There is no safe default. Bus current varies by device type, secure options, and even firmware/order-code variants. If the datasheet (or equivalent manufacturer current table) is unavailable, do not invent a mA figure for the tender — hold the row, request the document, or use a verified substitute order code and recalculate before you lock the supply SKU.
How much spare capacity should I add to a KNX line current budget?
Many integrator teams document roughly 20–30% spare on mid-size commercial lines, then write that percentage into the BOM notes so purchasing cannot “optimize” it away. Treat the percentage as a project rule, not a universal law: panel-dense or secure-heavy segments may need more. Spare is for late adds and diagnostics — not for devices you already know about.